
As our team and office footprint grew, it became clear that our existing WiFi setup was no longer sufficient to reliably cover every corner of the workspace. In particular, the hallway and adjacent office rooms were starting to show weak signal, periodic dropouts, or delays for video calls. After calling Spectrum, they told us about wifi extendor kits. Turns out we didn’t need to add on additional cost (good news for our small business).
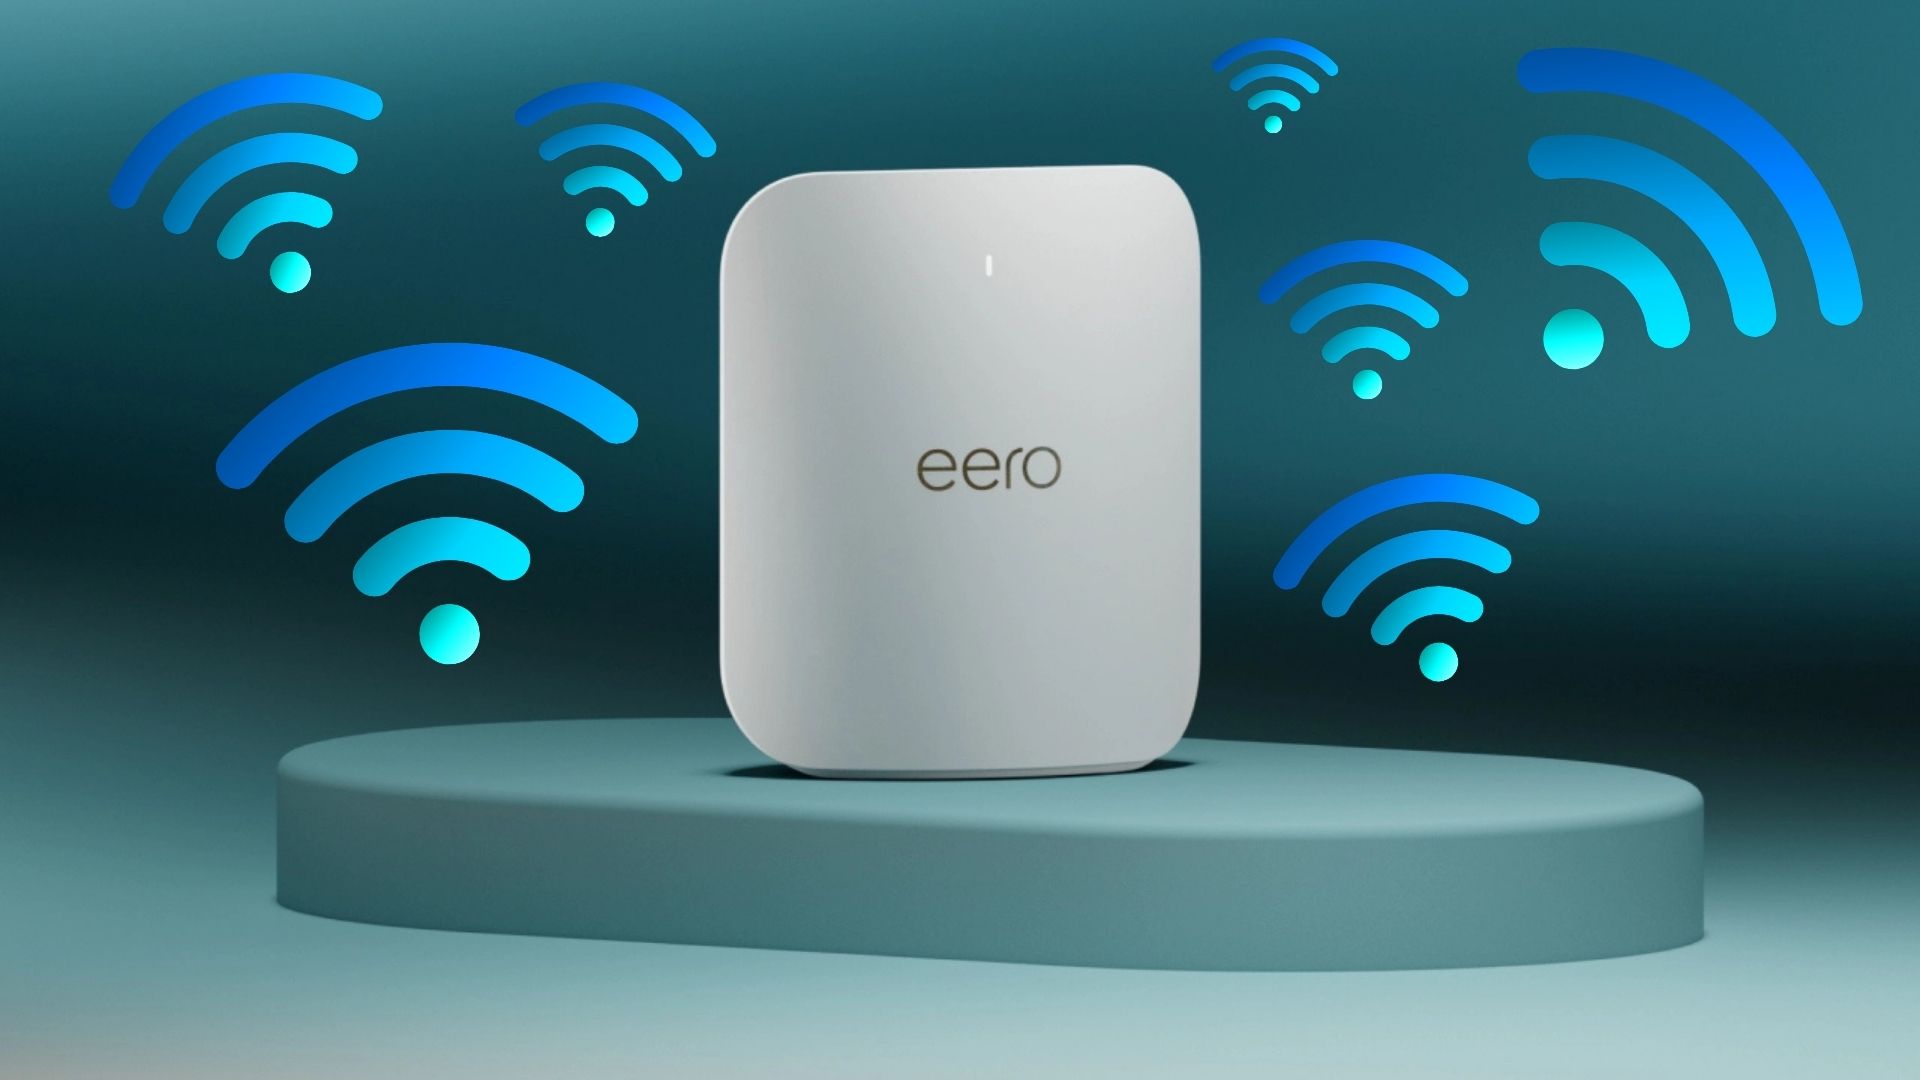
We recently installed an Eero mesh / WiFi extender (specifically, the Eero Pro 7 series) to fill in that coverage gap. The result? Solid connectivity, no downtime, and a seamless extension of the network into new spaces. Here’s how it went, step by step — and what others should know if they’re considering the same approach.
Why We Chose Eero (and Mesh / Extender Approach)
-
Scalability & flexibility – Instead of running long Ethernet cables or setting up separate WiFi names (SSIDs), the mesh system lets new devices join the same network automatically.
-
Ease of setup – The Eero app is simple and guided, so setup takes just a few minutes without needing IT expertise.
-
Reputation & reliability – Eero has a strong track record in both home and small-business WiFi, which gave us confidence in long-term stability.
Step-by-Step Setup & Best Practices
-
Plan placement – We chose a room down the hall that was still within range of the main WiFi, but weak in signal. (Tip: the extender needs a strong link to the main unit — too far away and it won’t perform well.)
-
Power and plug in – Plugged the Eero into an outlet and waited for it to boot. (Tip: watch for the indicator light to show it’s ready.)
-
Open the Eero app – In the app (iOS/Android), we tapped “Add new device” and followed the steps. It scanned the QR code, asked us to name the device, and let us assign its location.
-
Join the network – The extender connected automatically to the main Eero network and synced the settings. (Tip: because it’s the same SSID, devices roam seamlessly without needing to reconnect.)
-
Optimize placement & test – We adjusted the extender slightly and tested speeds, latency, and roaming between rooms until the coverage was strong.
-
Monitor & fine-tune – Over several days, we checked performance and used the app’s diagnostics. Everything stayed stable — no drops or interference.
What Went Right (and Why We Haven’t Had Issues)
-
No noticeable drop in performance. Signal strength, ping times, and download/upload speeds in the new rooms are nearly on par with the main office.
-
No configuration headaches. Because the extender inherits settings from the main network (same SSID, security), devices automatically connect without reconfiguration.
-
Stability over time. After several days of normal use (including video calls, backups, remote access), we’ve had zero issues of drops, congestion, or reboots.
-
Ease of expansion. If we need to expand further, adding another Eero unit will follow the same simple process.
Tips & Considerations for Others
-
Backhaul matters. The “link” between the extender and main unit must be strong. If using WiFi backhaul, aim for at least 50–100 Mbps link to the main unit for decent performance; if traffic is heavy, consider using an Ethernet backhaul (wired connection) if possible.
-
Avoid physical obstructions. Keep the extender away from thick walls, metal partitions, or heavy electrical equipment which block signal.
-
Position midway. As a rule of thumb, place the extender roughly halfway between the main router and the coverage gap, adjusting slightly based on testing.
-
Use the vendor’s app diagnostics. The Eero app gives real-time insights into strength, link quality, and suggestions if a node is too weak.
-
Firmware updates. After setup, ensure both original and extender units are up to date in firmware to benefit from performance/security fixes.
-
Labeling & documentation. Name each node (e.g. “Hall Eero,” “East Wing”) so later troubleshooting or expansion is easier.


